Time needed: 5 minutes
How to set up an optin form with Mailchimp and integrate it with the Promotion Calendar Pro Plugin.
- Log in to your Mailchimp account.
- Go to your Signup Forms.
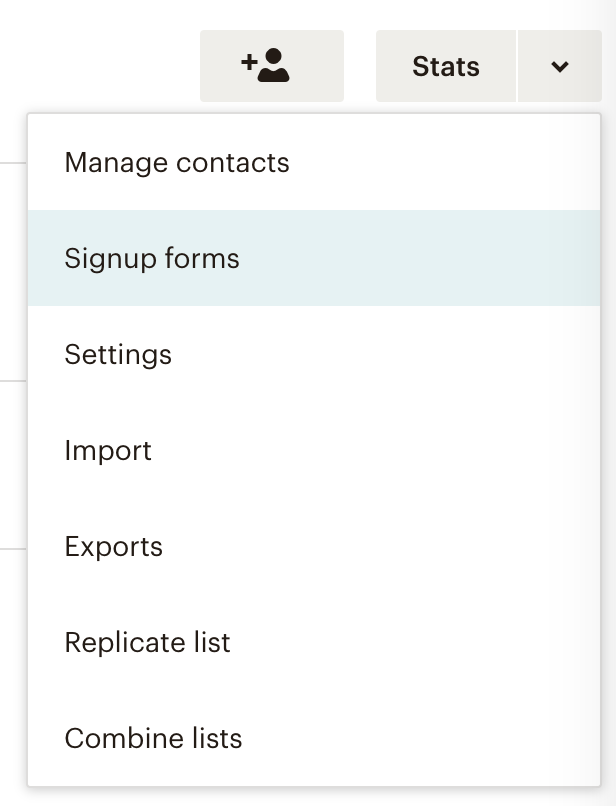
Go to Lists and select Signup Forms from the dropdown next to your list.

- Create a Signup Form for Promotion Calendar Pro.
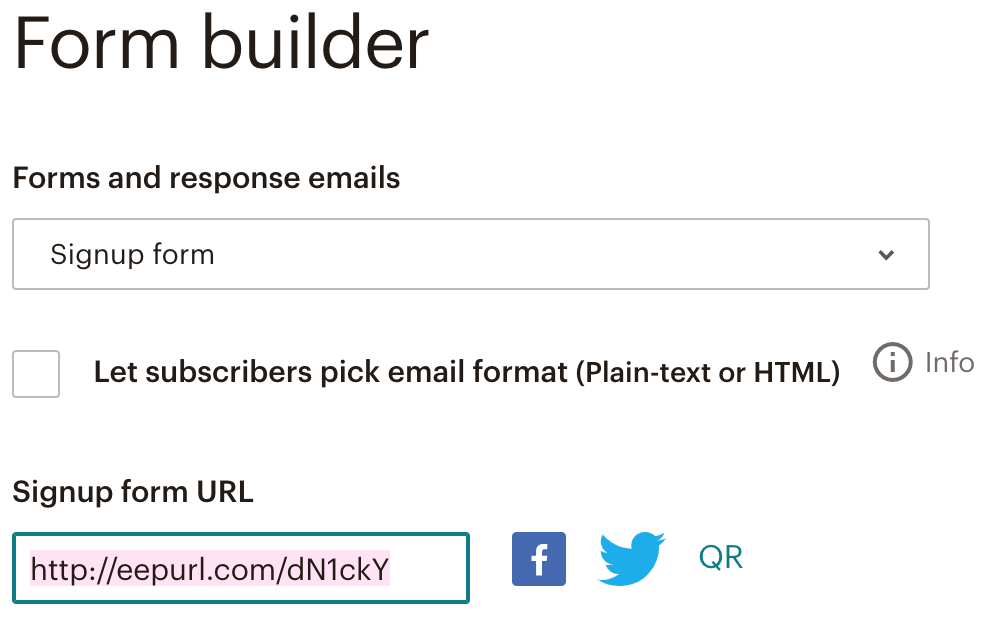
Go to Form Builder, customise your signup form elements and then copy the Signup form URL.

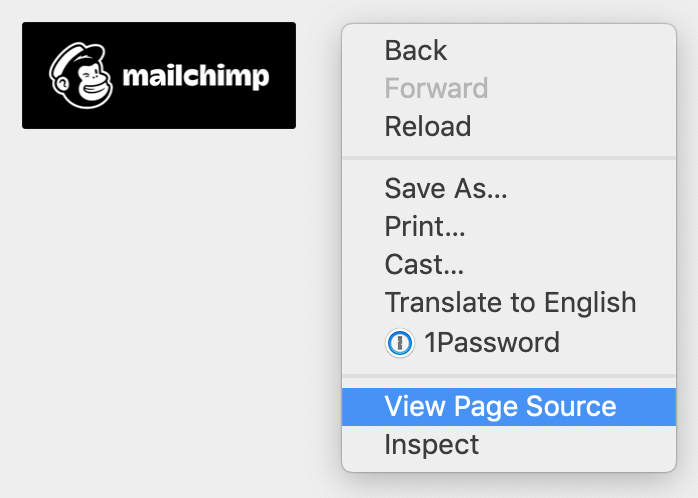
- Load the Signup Form in your browser and view HTML
The method for viewing the source varies depending on your browser.
In Chrome and Firefox it will look like the image below.
In Safari you will need to go to the Develop menu and the select Show Page Source or use the keyboard shortcut ⌥⌘U
In Internet Explorer or Microsoft Edge you can use the keyboard shortcut Ctrl + U - Open Promotion Calendar Pro settings in a new tag or window and Select Mailchimp.
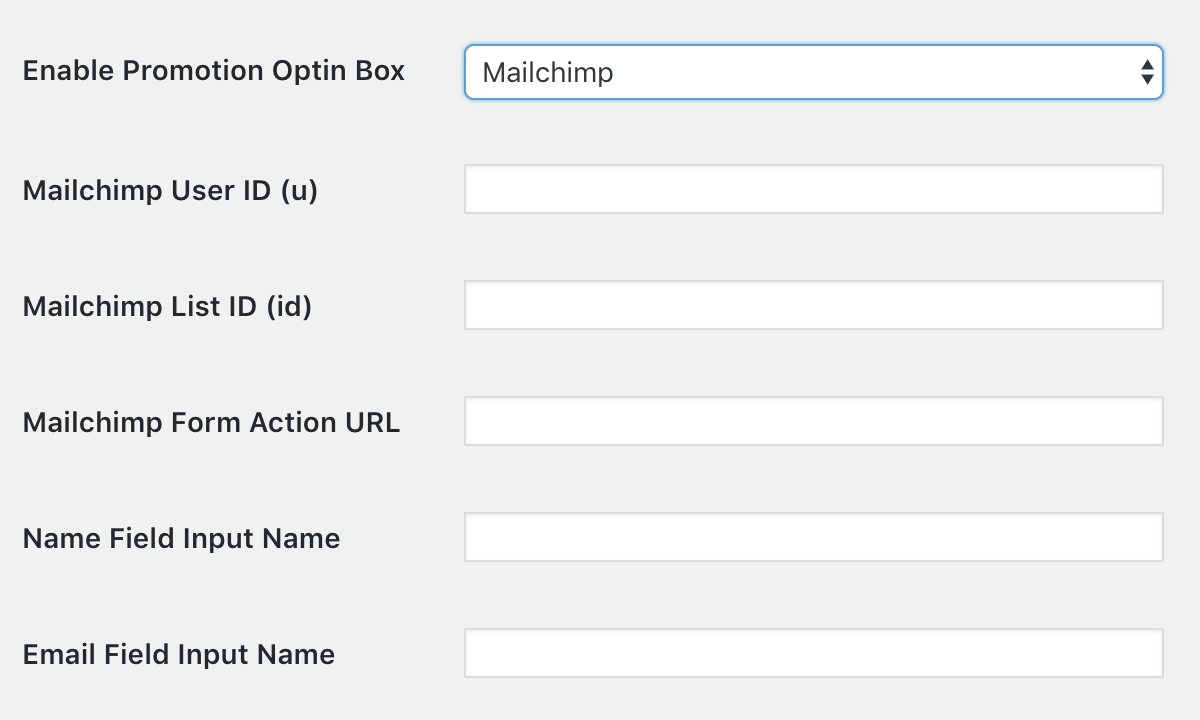
Login to your WordPress dashboard and you will find the settings page at My Promotions > Settings

- Find the fields you need within you Page Source.
You can search the code by pressing Ctrl + F on Windows or ⌘ + F on Mac.
– Search for name=”u” and copy the value for the User ID
– Search for name=”id” and copy the value for the List ID
– Search for <form action=” and copy the URL between the quotation marks for the Form Action URL
– Search for type=”email” and copy the value in the name=”” field for the Email Field Input Name
– There should also be an input here for Name if you’ve enabled that and you would copy the value in the name=”” field for the Name Field Input Name - Scroll to the bottom of the page and save your settings.

If you are still confused please refer to this article from Mailchimp or reach out for assistance.
